Currently, web apps are becoming popular which was not the case a few years ago. Today, we all use them most of the time. Hence, web application development is not only the skill that developers prefer to learn but also an ideal solution for most businesses from entertainment to e-commerce to education, banking, etc.
With the increasing popularity and demand for web apps, building a web app is something that an entrepreneur would look forward to, but to make a scalable and successful web app, the right approach is needed. It means you need to follow a systematic process to accomplish the task. So, this blog would help you learn about the complete lifecycle to be followed for the web development process. So, let us begin.
Different Stages of Web App Development Process
1. Search for an App Idea

Start by finding a perfect concept for your web app that solves a particular problem. Certainly, the best apps always help people resolve common issues they face often.
Of course, you don’t need an idea that is unparalleled or unmatched. All you need is an idea that already exists or an enhanced version of a current app idea. The main objective should be a considerable enhancement. You can think of something that provides a method that helps carry out specific tasks faster than other apps.
2. Perform Market Research
After you finalize your app idea, the second stage of the website development life cycle is to know your audience. Yes, you need to identify the prospective market for your app idea.
To do so, you need to identify the audience who will be using your web application. Knowing your audience is important from both technical and business points of view for your web app.
3. Determine Functionality
At this stage, you need to distinguish between your objective and the measures taken. Firstly, you should pick out one main functionality that your app is best at and why people should opt for your app.
Also, at this stage, you need to focus on that one main feature rather than focusing on other features to be included in your app. Make sure you do not aim to make your app a multipurpose app. Just think about that one feature and related capabilities the app needs. For example, passwords, user profiles, checkout, contacts, content management, payments, etc
4. Create Design for your Web App
Engage in creating a simple sketch for your web app design. You just need to sketch on a piece of paper with a pencil. Also, outline for each page to be included in your app.
Here, you don’t need to focus on minute details. The sketch just needs to give a basic idea of how the app is going to work. Make sure you define where you want the text, images, and buttons to be positioned on the app.
Also, you need to figure out the entire workflow. So, arrange your sketch to avoid confusion.
For example, starting from the sign-up screen, you move to a page where the users key in the basic information and then create a user profile. Then they proceed to the product/services page based on your app type. After completing the initial layout & workflow, move further to prototyping and wireframing.
5. Create Wireframes & Prototypes
Here, you need to move to your computers and start working on the functioning of your web app.
Focus on creating a wireframe which is simply a sketch made on a computer and is a bit structured. The wireframe helps you get an idea of how the pages on your app would appear.
Now, you need to make a prototype for your web app. After you add some functionality to the wireframes they seem to be like the actual app, though with some functionalities. This is the prototype for your app.
So, start with a simple prototype. There are different tools available that you can use to make a prototype. Here are some of the effective tools.
- InVision Studio
- WebFlow
- Sketch
- Adobe XD
6. Start with Verification
Ideally, you need to check with your colleagues and friends about your app idea. You can ask them what they think about your app idea. At this stage, you have a prototype of your app with you, so you can start with alpha & beta testing to verify how users respond to your app.
Collect a group of users mostly your friends and colleagues or other people whom you can get in touch with personally. You can ask them to use the prototype of your web app and start collecting their feedback.
The feedback would help you improve your app and make it more functional. So, when you are all set to start with the most important stage of the web development life cycle, you will have a strong base to start developing an app.
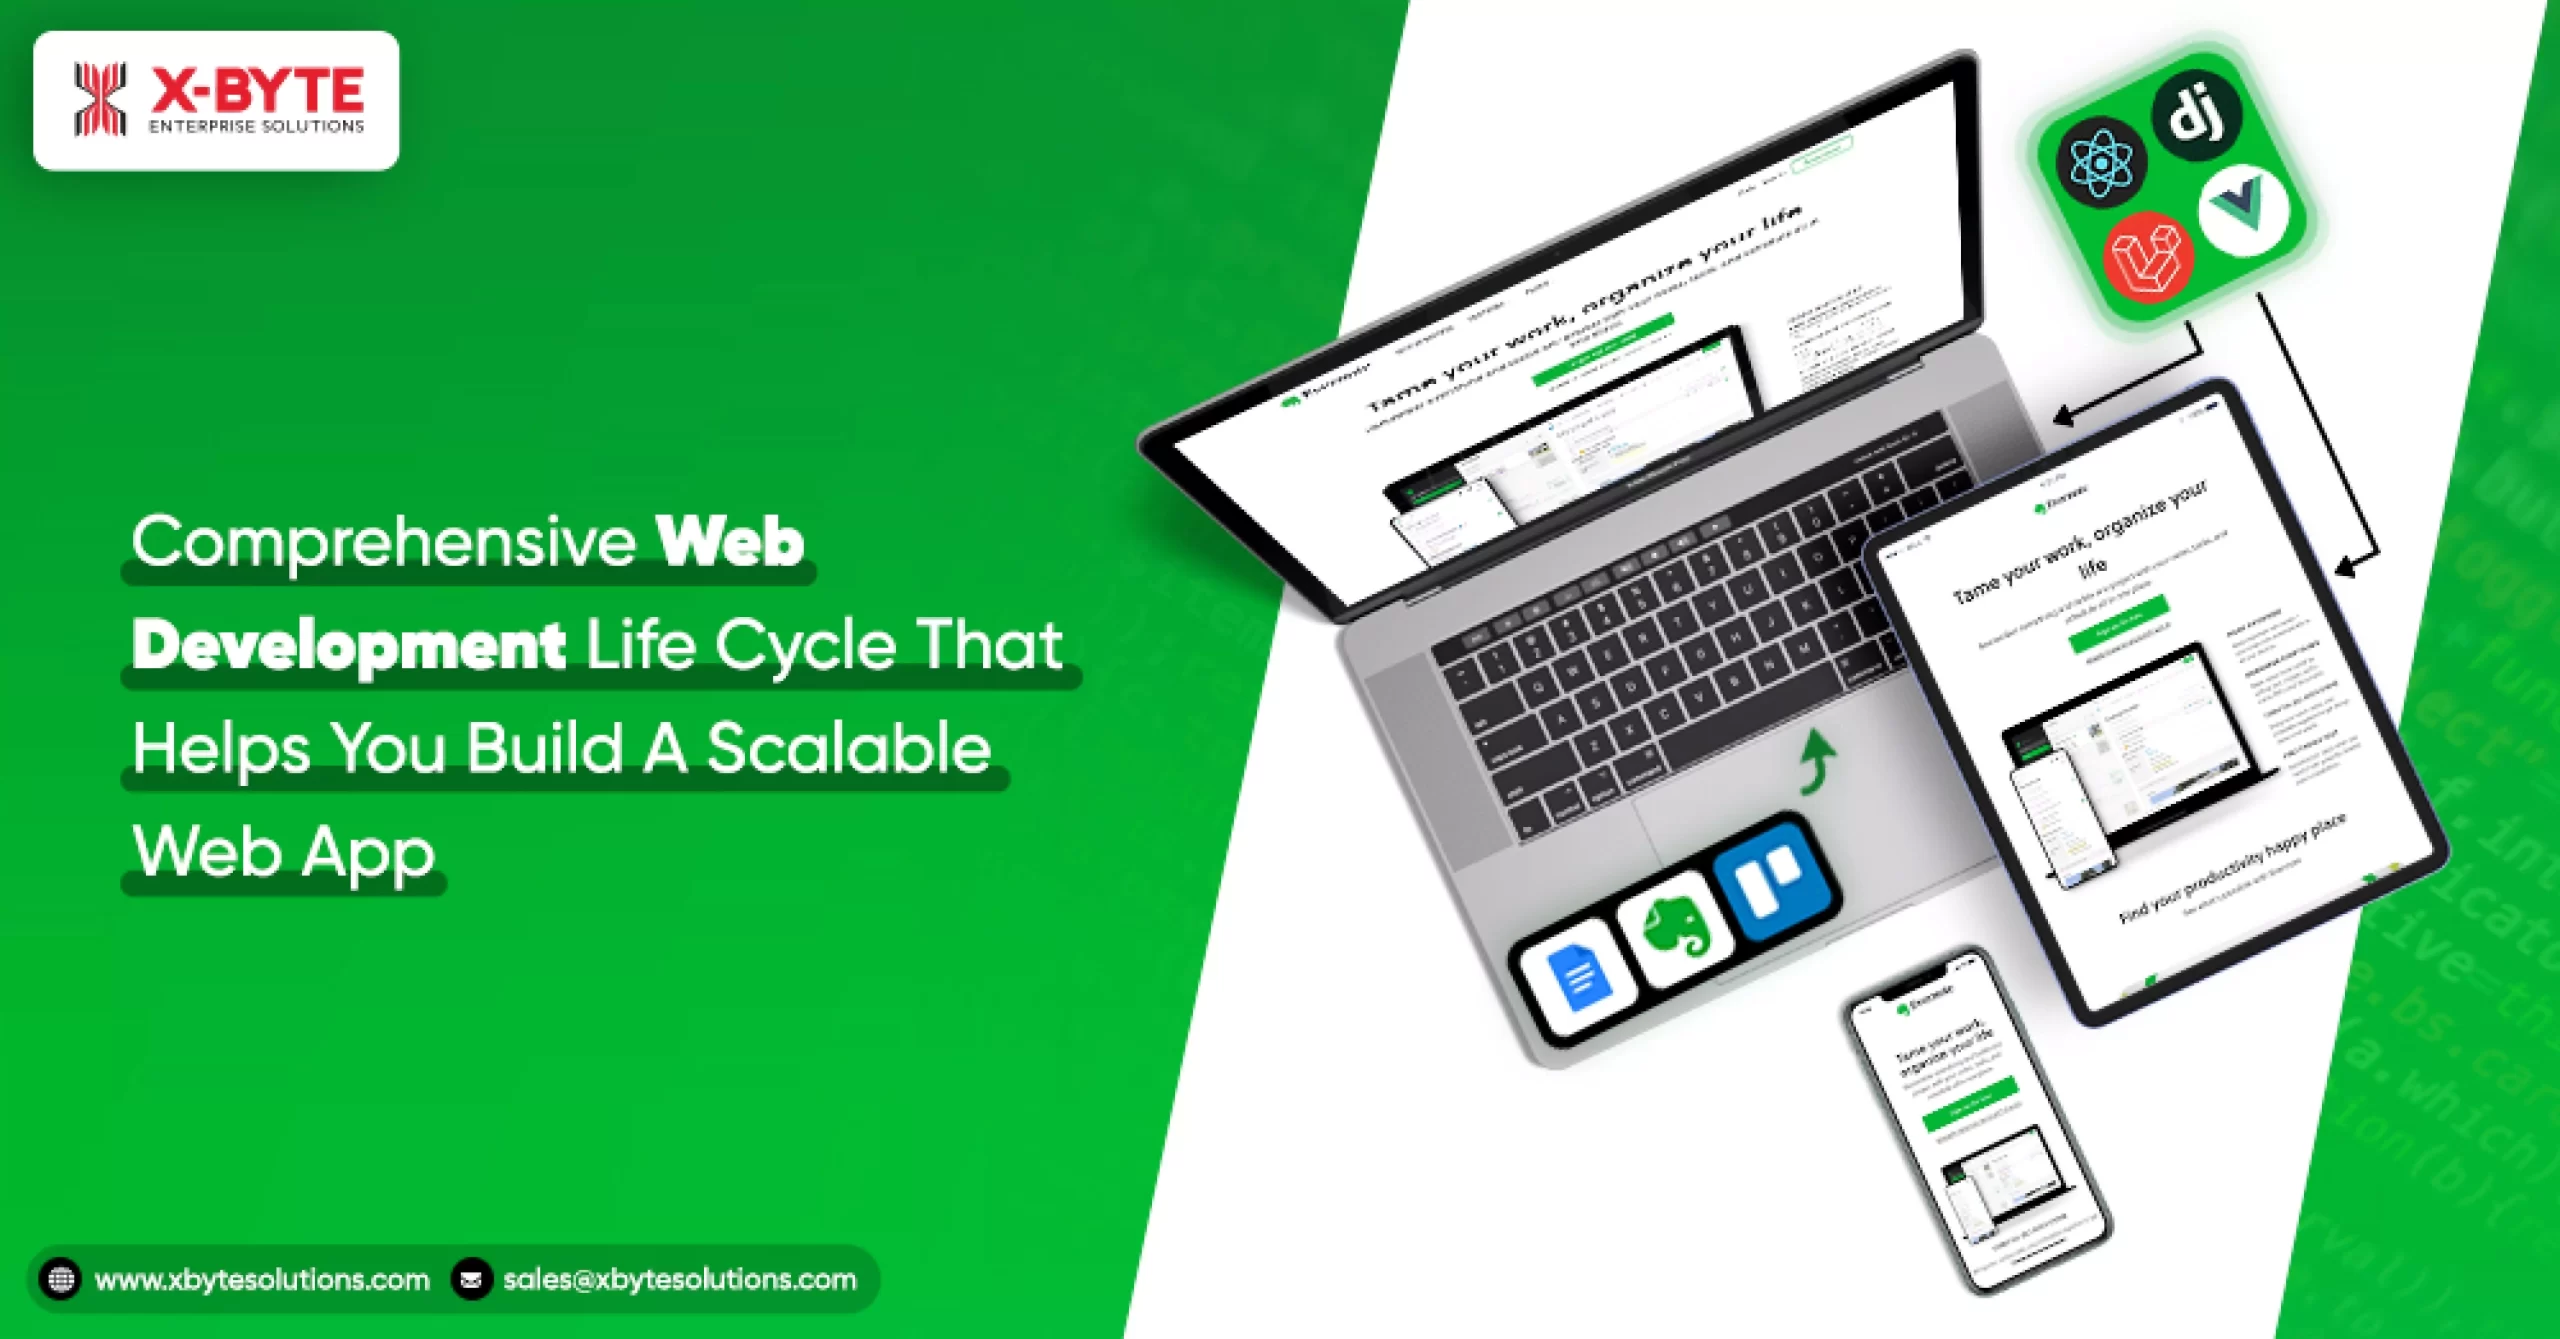
7. Pick the relevant Technology Stack
Until now, we have discussed the basic needs of web app development. Now, once you step into the development stage, you need to decide on some technical aspects.
Yes, you need to pick the relevant framework, platforms, libraries to develop your web app. The choice depends on factors like :
- Functionality of app
- Your personal choice
As there are plenty of amazing web application development tools available in the market, you should choose the ones that match your app requirements and you are comfortable with,
Programming Language For Client-side Web Development
- CSS
- HTML
- JavaScript
- Material UI
- React
Programming Language For Server-side Web Development
- Python
- PHP
- Laravel
- JavaScript
Web Application Framework
Consider some of the popular web application frameworks
ReactJS
It is used to create a component-based model of web applications.
Django
It is a Model-View-Controller based on Python and used by big tech players like Google, Instagram, etc.
Laravel
It utilizes the Model-View-Controller framework which accompanies extraordinary API support.
Vue JS
It is a progressive framework that enables entire frontend web app development.
After you decide on what technology stack you want to utilize for creating your web app, you can move on to writing code.
After you are done with code writing and your app is done, it is time to host your web app.
8. Host Your Web App
Now, you need to host your web app for which you need to select a server. You need to buy a domain and establish an SSL certificate. Next, pick a cloud provider like Google Cloud, Amazon, etc.
9. Launch Your Web App
After you have the code and host ready, your web app is all set to go live. You can simply launch your app with the hosting service and the app is live for the users.
10. Post Launch and Maintenance

Well, your job doesn’t end with the launch of your web app as there is still much more that needs to be done post app launch.
You need to focus on post-launch web app maintenance, add new features if required, common updates, etc.
App maintenance plays an important role as it helps you improve and support your app continuously to help the app function smoothly.
Conclusion
Well, this blog helps you get detailed information on the web development process that lets you build a successful web app.
It will assist you to move confidently and decide on selecting the trusted custom web application development services provider for the app project.
At X-Byte Enterprise Solutions, we follow a systematic web development process that ensures our clients make the most of our web development services.
We are well-equipped with a talented team of developers, designers, QA experts to analyze your web application development needs. We are one of the trusted web application development USA companies that deliver impeccable web development solutions for our clients. Feel free to get in touch with us to discuss your requirements.